15 b-roll ideas for brand, product and social videos
15 b-roll shot ideas grouped by use (product, team, process, customer, lifestyle, transitions), with what to shoot, how to frame it and where it goes in the edit.

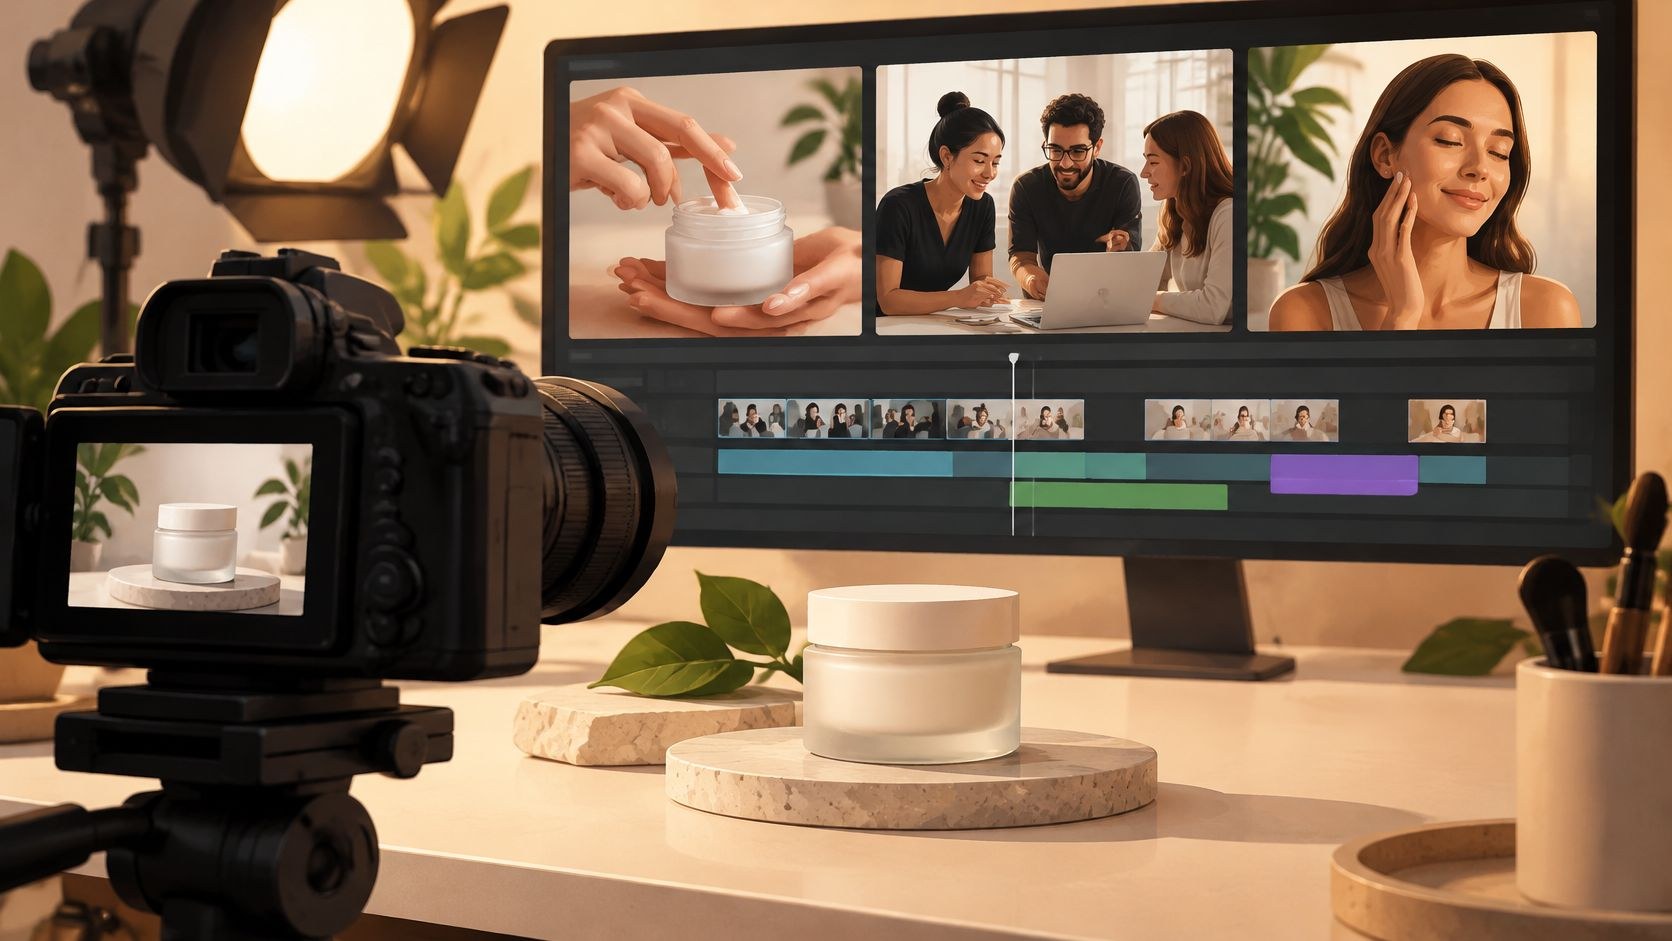
B-roll ideas are the supporting shots you plan to cut over an interview or a voiceover: product details, team and process footage, customers, lifestyle moments and transitions. Most shoot days I’d call wasted came back with plenty of footage. Twenty pretty clips of a lobby, say, and nothing to put under the line where the speaker explains how the product works. I started Moonb, and that gap is why I plan b-roll (the supporting footage you cut over an interview or a voiceover) from the edit backwards.
The name comes from 16 mm film, where a splice showed up as a flaw in the picture, so editors put the odd-numbered shots on an A-roll and the even ones on a B-roll, each matched by opaque black leader on the other roll (a method also called checkerboard printing); Wikipedia’s history of B-roll has the details. The footage still does that job of hiding cuts, and it shows the viewer what the words describe.
For anyone on your team who has never planned b-roll, StudioBinder covers the basics in one short video.
Where each shot goes in the edit
| # | Idea | Group | What to shoot | How to frame it | Where it goes in the edit |
|---|---|---|---|---|---|
| 1 | Macro texture | Product | Stitching, a brushed edge, embossing, a screen corner | Locked or short slider, longer lens, low side light, slow focus pull | Opening a product segment, or right after a spoken feature |
| 2 | Hands using the product | Product | A real task: typing, pouring, fitting a part | Side angle at waist height, hands and product in one frame | Straight after a product claim, as proof |
| 3 | Unboxing and reveal | Product | Sealed box, the open, the layers, the first look | Overhead for the open, three-quarter angle for the reveal | First seconds of a launch, store or social cut |
| 4 | Team at a whiteboard | Office and team | A small group working through a real problem | Eye level from the side or behind, a wide plus a close | Culture and recruiting films, before one person speaks |
| 5 | Workspace establishing wide | Office and team | The floor, the lobby, the kitchen | Chest-height tripod, wide lens, slow move | Top of a scene, or when the script changes location |
| 6 | Over-the-shoulder screen | Office and team | Someone working on a laptop or monitor with demo data | Behind one shoulder, screen readable, face optional | Software explainers, walkthroughs, training |
| 7 | Hands assembling | Process | Each step of building or making the product | Fixed overhead or 45-degree camera, plus one close on the key step | Under narration that names each stage |
| 8 | Inspection moment | Process | A tool, a check, a pass result | Tool and result sharp, station soft, then a wider | Trust and standards sections, safety content |
| 9 | Screen recording | Process | A clean capture of the task in a test workspace | Full-screen capture, slow deliberate cursor | Demos and onboarding, with a person cutaway |
| 10 | Customer in their own space | Customer | The product used where the customer works or lives | Natural light, handheld or gimbal, person and product together | After the problem, before the result |
| 11 | Customer and staff exchange | Customer | One short real exchange at a desk, call or delivery | Over a shoulder or from the side, from a distance | Service claims in brand films, model behavior in training |
| 12 | Desk or morning routine | Lifestyle | A cup, a notebook, the start of a day | Soft window light, shallow focus, static or slow push | Social openers, a breath between logo and claim |
| 13 | Outdoor context | Lifestyle | The building, the grounds, the site | Golden hour or overcast, slow move or locked wide | Opening or closing a film |
| 14 | Slow pan or rack focus | Transitions | A row of products, a shelf, two objects at different depths | Slider or dolly at low speed, focus marks taped | Linking two products, landing on a title |
| 15 | Time-lapse | Transitions | Light moving across a room, a floor filling up | Locked tripod, interval capture, manual exposure | Section changes and openers |
Product shots
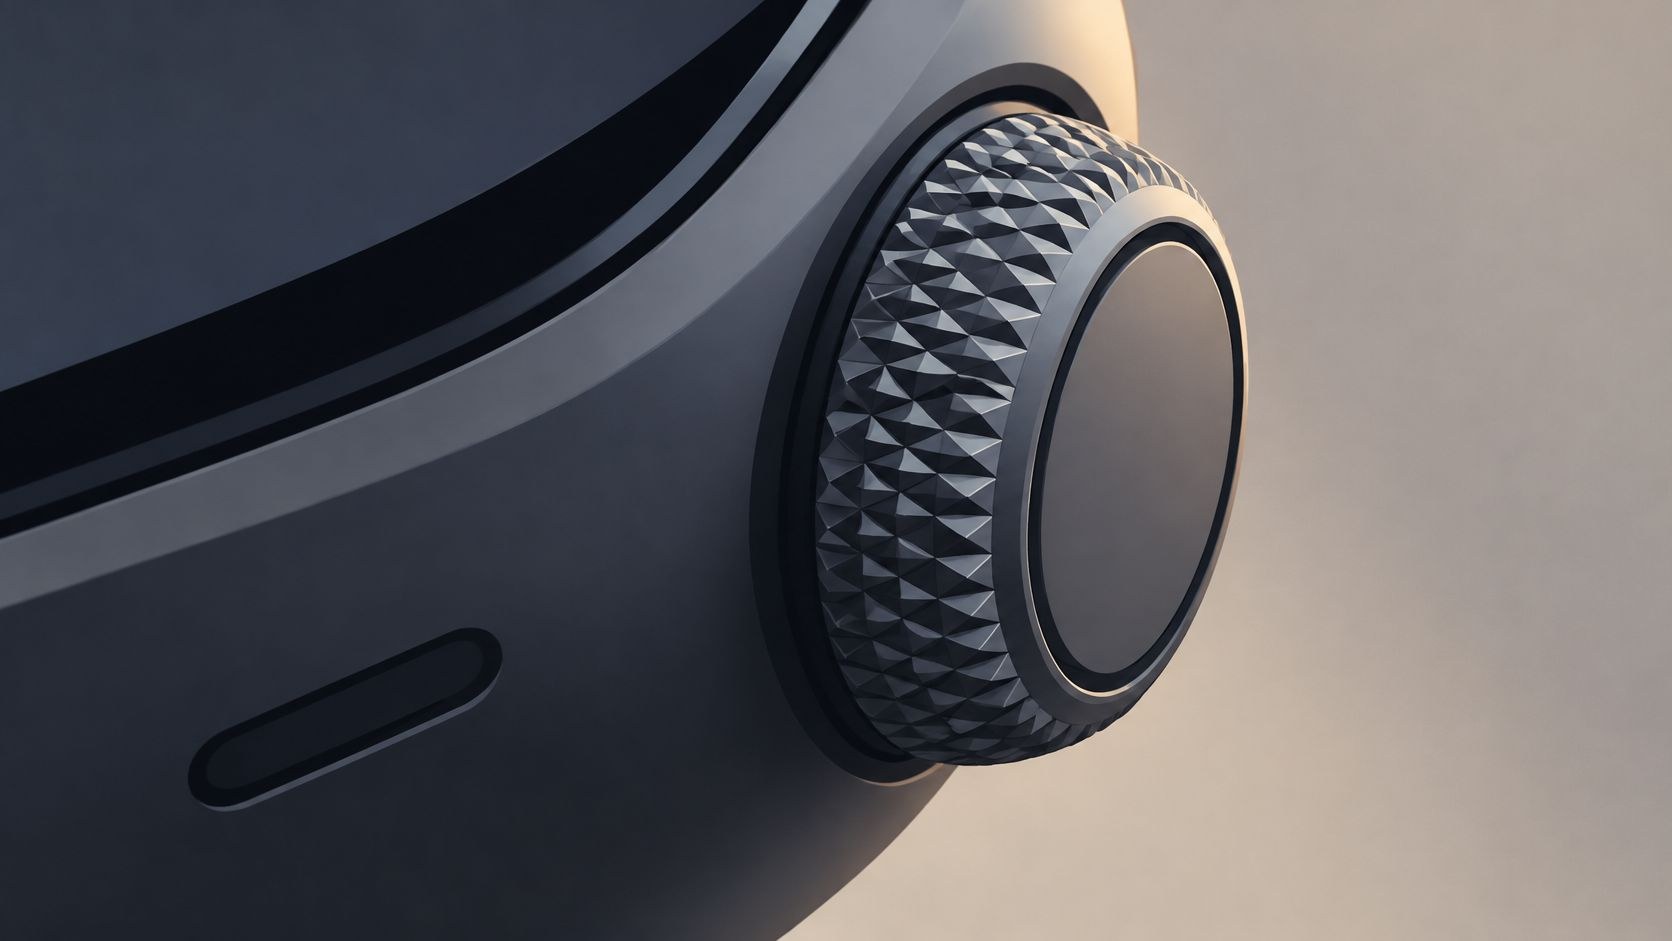
1. Macro texture close-up of the product
Start with the detail the script brags about (stitching, a brushed metal edge, label embossing, the corner of a screen) and clean it more than seems sensible. A macro lens finds every fingerprint and speck of dust.
Lock the camera or use a short slider, go to a longer lens and light low from one side so the texture throws shadows. I always want three passes of the same detail: static, a slow push, and a focus pull from the detail out to the whole object. The editor picks whichever fits what the voiceover is doing, so the edge is on screen right as the narrator says “machined aluminum”.
2. Hands using the product in a real setting
If the voiceover says the lid snaps shut with one hand, show one hand snapping the lid shut. Frame from the side at about waist height with hands and product in the same frame, and leave the face out unless you cast for it.
Rehearse the action twice before you roll or it looks posed. Keep the same person and the same sleeves through the whole sequence so takes cut together, and shoot the one action you might want slower (a pour, a lid, a click) again at a higher frame rate. TourBox’s guide to shooting B-roll puts the trade-off well: a higher frame rate lets you slow footage while keeping the motion smooth, but slow every action down and the result can feel sluggish. I pick one action per sequence for slow motion and leave the rest alone.
3. Packaging unboxing and reveal
Shoot the open from directly above on a clean surface, sealed box to first layer in one continuous take, then move to roughly 45 degrees for the reveal with the light already set. Bring two or three identical packs, because a crushed corner or a torn sticker on take one will otherwise end your morning.
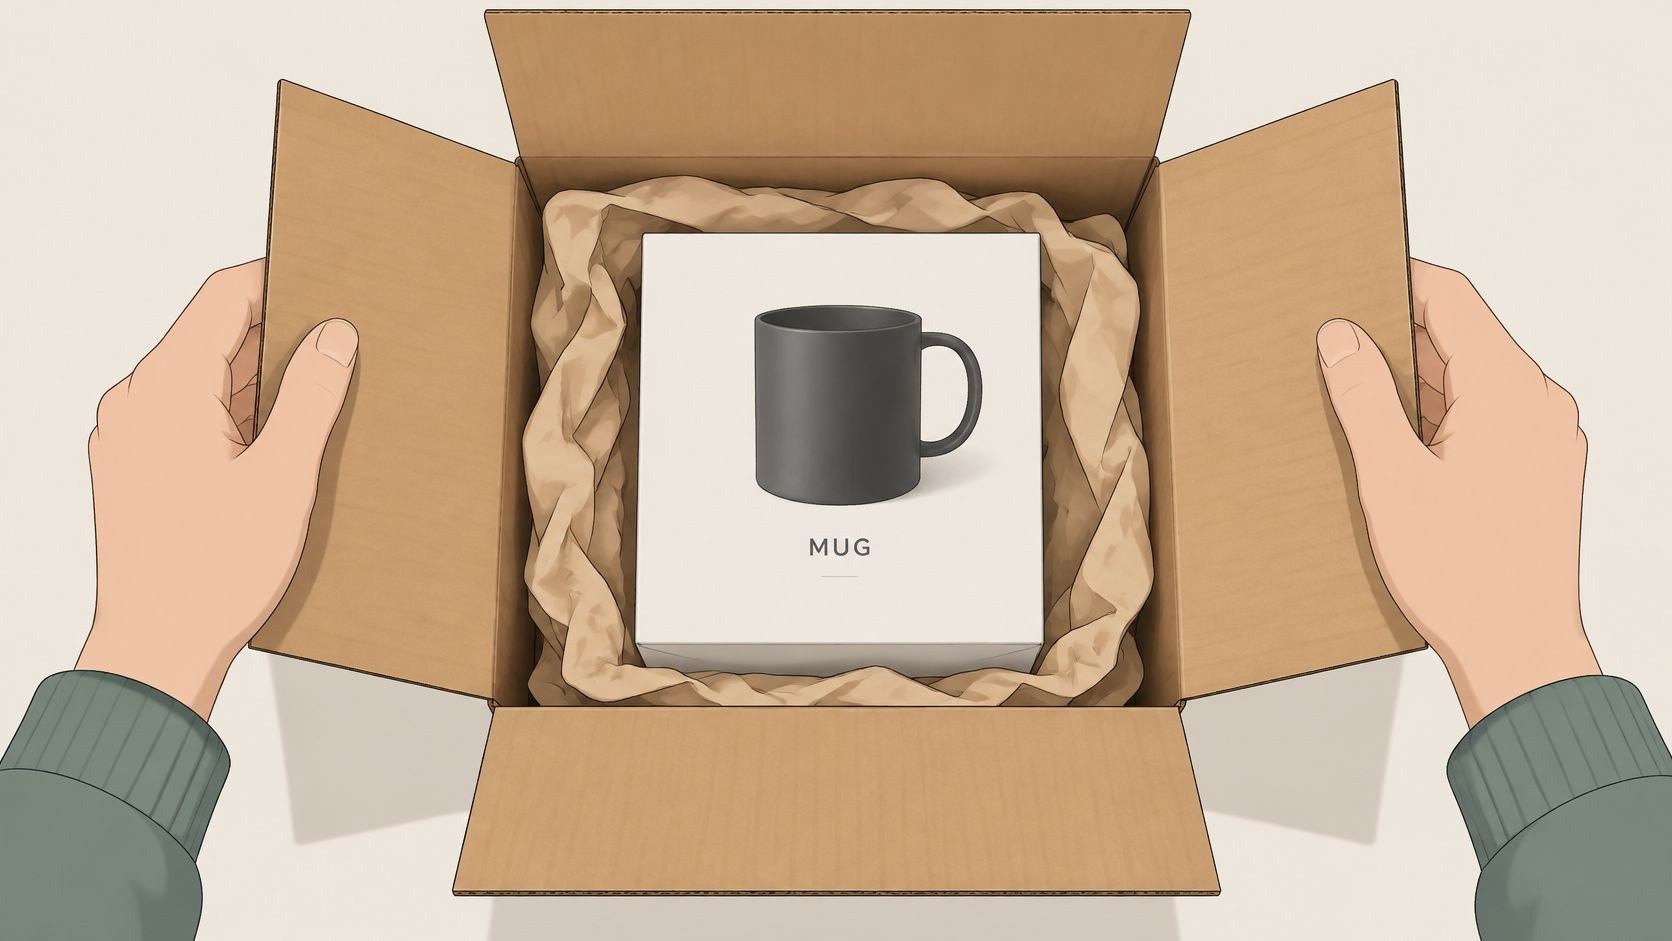
Keep the table plain and let the box open at normal speed. If the reveal belongs to a bigger launch, put it in your product launch video plan before the shoot day so it gets its own setup and isn’t grabbed in a hurry at the end.
Some catalog motion now gets made without a camera at all. Wearview’s page on ai video production for fashion brands pitches turning the product photos you already have into campaign, social and product-page clips, which can fill a lot of store tiles. I’d still put a camera on the hero cut.
Office and team shots
4. Team collaborating at a whiteboard or table
Put a small group around a whiteboard, a table or a shared screen, give them a loose prompt (“plan next week’s launch”) and no lines, and let them run. Shoot at eye level from the side or from behind, far enough back that nobody feels crowded.
Get a clean wide first, then go in on the marker or on whoever is talking. Adobe’s guide to B-roll notes that video makers still use B-roll to establish scenes, smooth transitions and “cut out coughs or unwanted frames without throwing away a whole shot.” Put a lav on anyone who might be heard, because a room mic alone loses to the air conditioning every time. And if someone starts smiling at the lens, stop and reset. If the whole film is about culture, our guide to company culture videos covers planning that beat ahead of time.
5. Office or workspace establishing wide
Tripod at chest height, wide lens; a slider or gimbal works too if the move stays slower than a casual walk. Match the light to the rest of your footage. Monitors go off, or get a neutral screen.
Sony’s Alpha Academy tips on shooting B-roll say to “aim for 3-5 different angles” (a wide, a medium and close-up details), to vary the height, and that “every new shot should be from at least a 45-degree angle from the last,” so the clips never cut together like jump cuts.
I use the wide only when the script actually changes location, so viewers know where they are before a person or a product shows up. The gorgeous lobby that has nothing to do with the next line is the clip I cut most often.
6. Over-the-shoulder shot of screen work
Over someone’s shoulder, the screen has to be readable and safe at the same time. Use a demo account, and keep real names, balances, patient fields and customer records away from the lens. Angle the camera slightly, keep the screen in the upper third, and push zoom and brightness up until the type reads on a phone. Then have the person actually click through the steps while you roll.
While you’re there, grab a clean screen recording of the same flow. The camera view often comes out soft, and when it does the editor swaps the recording in under the line about work in progress.
Process shots
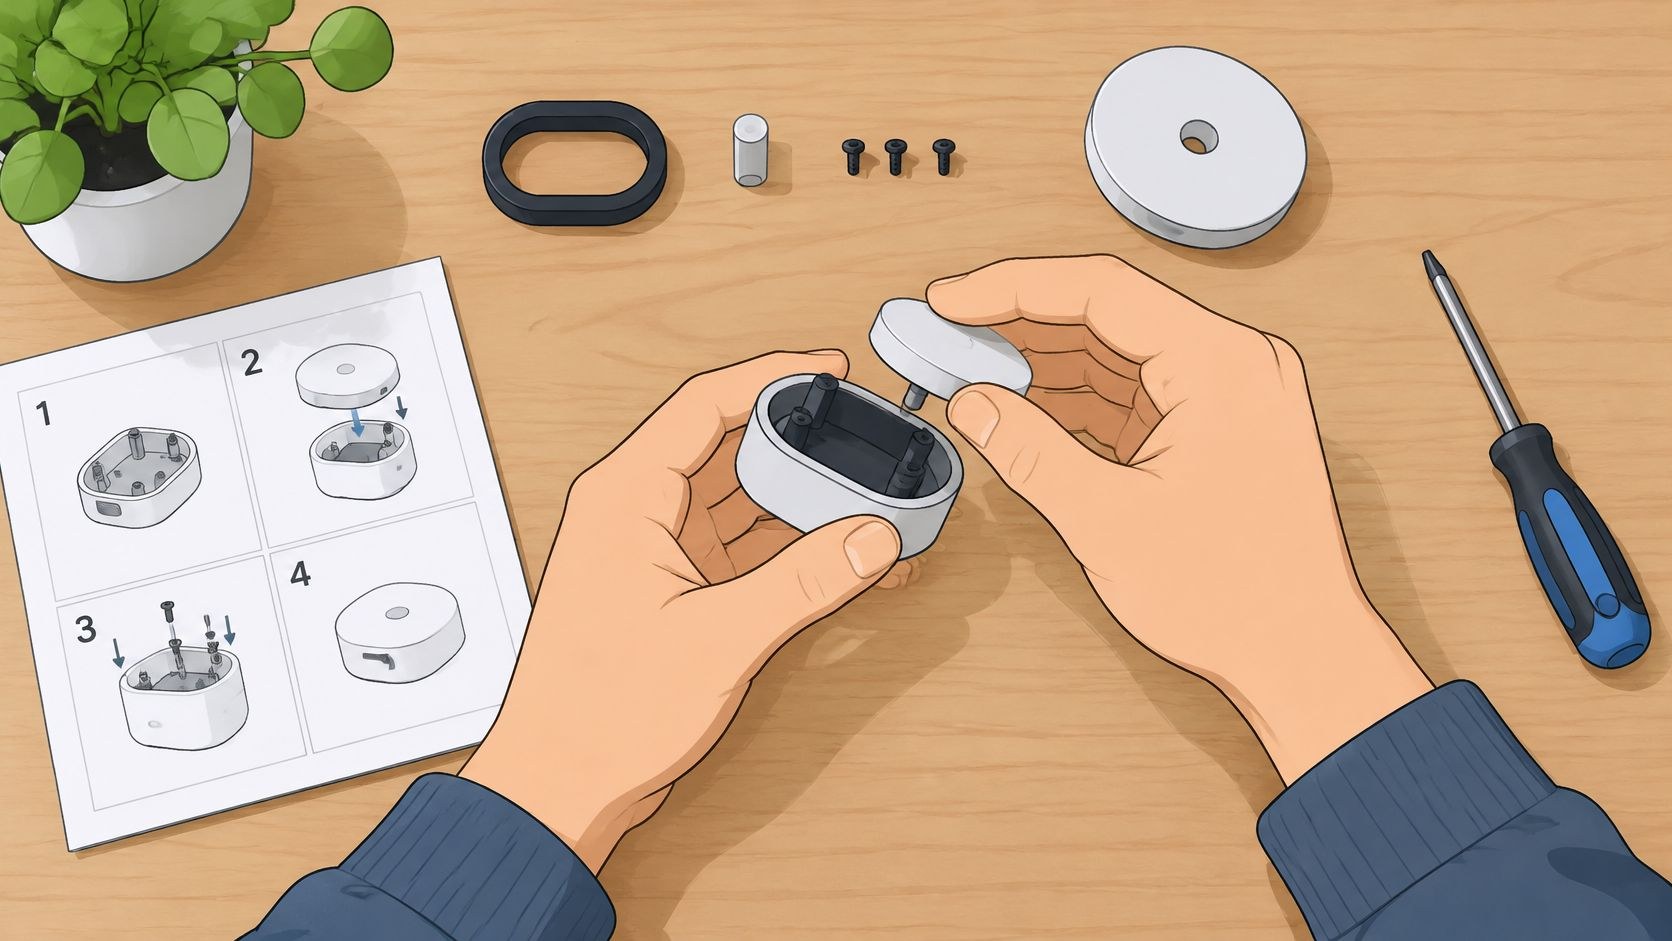
7. Hands making or assembling the product
Lock the camera for the whole assembly, overhead or at 45 degrees, on a clean mat so hands and parts separate from the table, and add one close shot of the step that matters most. With the camera fixed, the editor can jump between steps without a mismatch, dropping each in right after the narration names it, and a wide of the bench covers any stumble in the voice.
Resetting parts eats a schedule fast. Lay every component within arm’s reach before you roll, and keep rolling through the moment the part seats.
8. Quality check or inspection moment
Get the tool and the result in frame, then a wider shot so the station makes sense, and show the tool before the reading or viewers won’t know what a pass looks like. Shallow depth of field keeps the check sharp and the floor soft.
Get written sign-off from the site or compliance lead before you point a lens at a gauge, a light box or a caliper. Keep the scale in frame too, because a dial without one tells the viewer nothing. If you’re planning a plant day, give the inspection its own beat on your manufacturing video production shot list.
9. Screen recording of a digital workflow
Record in a test workspace with sample data, at the resolution you’ll deliver or higher, after clearing notifications, bookmarks and anything personal. Move the cursor slower than feels natural, click on purpose, and don’t smooth the cursor path in post; it ends up looking fake.
A two-minute uncut scroll loses people. Put each recording under the sentence that names its step; a software demo video usually needs only the clicks that change what the viewer believes, plus a camera shot of the person as a cutaway so the film isn’t just a cursor.
Customer shots
10. Customer using the product in their own environment
Outdoor gear on an actual trail, or a B2B customer at their own desk with the software open. Dropbox’s 2026 video trends report has numbers on why it works: 38% of consumers say “real and relatable” video is more memorable than highly produced ads (a figure the report credits to Teleprompter), and 81% of creatives increasingly see authenticity as a differentiator.
Use natural light, handheld or gimbal, and a medium frame that holds person and product together. I let people talk in their own words, then shoot the use as a separate pass. Get signed releases for every face and any location with signage, and check sound before each take, because outdoor noise changes by the minute. If the material also feeds social, list the environment shot as its own file in your UGC video plan so it doesn’t get buried in the interview.
11. Candid interaction between a customer and staff
Film one short, real exchange between a customer and your staff, at a front desk or on a call. Shoot over a shoulder or from the side, far enough away that people forget the lens, and give them a goal (resolving one question) with no script. A second take in a different tone gives the edit a choice; keep both short if social will use them. If both people start performing, cut it.
Lifestyle shots
12. Morning routine or desk setup lifestyle shot
Pick props your real audience owns for the desk, the cup and the notebook, because a marble tray and an untouched notebook read as stock footage. Shoot the start of someone’s day in soft window light with shallow focus, static or a very slow push.
A pretty cup explains nothing about a feature, so I allow one per film, usually as a social opener or a pause after the logo. Mute it and ask whether the picture alone says whose day this is. If it doesn’t, change the props.
13. Outdoor or environmental context shot
Shoot the building or the grounds wide, for scale, at golden hour, or on an overcast day if you want even light, and if the camera moves at all, move it slowly on a dolly or a drone. Without a drone, a locked wide from the gate is fine.
Match white balance and lens feel to the interiors or the cut will jump. Drone rules and permits need checking well before the day, with a weather backup booked.
Transition shots
14. Slow pan or rack focus across objects
Run a slider, dolly or very steady handheld at low speed along a row of products or a shelf, or pull focus from one object to another. That gets you from one product to the next, or onto a title card. Mark focus points with tape before the move and light the whole path the same way, or the grade will fight you.
I see it used a lot to cover for a proof shot nobody got, and in those films I usually cut it. If your crew mixes up a push-in, a truck and a whip pan, StudioBinder’s camera movement guide walks through each one with film examples.
15. Time-lapse or light-change sequence
For clouds over a building or a floor filling up at the start of the day, lock the tripod and set exposure and white balance to manual so nothing pumps. Shorten the interval for people and lengthen it for clouds. Bring external power for anything that runs long, and roll extra at both ends so the edit can trim.
I like it as an opener, or to bridge two scenes. It goes wrong when someone bumps the camera, or when it fills a gap that needed a demo.
How much b-roll a one-day shoot should produce
I won’t give you a clip count, because it depends on the script. The arithmetic behind one is easy, though.
Start from the claims. Read the script and mark every line that asserts something a picture could prove. Each mark needs at least two framings (a wide and a close, or the action and the detail), and Sony’s three to five angles per subject is a sensible ceiling for the setups that matter most. Add an establishing wide for every location the script visits, plus one or two transitions. Say a script makes eight provable claims across two locations. You need sixteen framings at minimum, two wides and a couple of transitions, before anyone shoots anything “just in case.”
Clip length is better documented. Sony suggests 5 to 10 seconds per clip, except for complete actions like a pour, where you record the whole movement. Adobe’s guide quotes director Mike Leonard, who tells shooters to “always count to ten in your head” and calls a beautiful shot that is not long enough “the most common beginner’s mistake.” TourBox adds rolling a second or two before and after the action for clean in and out points. Multiply your framings by those lengths, and by a couple of takes each, and you know roughly how much footage the schedule has to fit.
A staff-written case study on using less B-roll argues that cutting away to generic stock clips caused small drop-offs in retention, and that simpler edits produced a smoother retention curve. That’s one channel’s experience, so test it on yours: cut one version with inserts only where the claim changes and one with denser cutaways, then compare early retention.
Shot checklist for the day
Print this and tape it to the cart. It pairs with the wider video production checklist, and if the shoot is complex enough to storyboard, the storyboard examples post shows how much detail a board needs.
- A proof shot marked next to every claim in the script
- Two framings for every committed idea, wide and close or action and detail
- The same hands, sleeves and screen state across each sequence
- Demo accounts and mock data on every screen, plus a separate clean screen recording
- Signed releases for people and locations before you wrap
- Lavs on anyone who speaks, and a minute of room tone per location
- Spare batteries, a second unit of the product and a second box
- White balance matched between interiors and exteriors
- A few seconds of handle at the head and tail of every clip
- Clips labeled by claim, framing and take before anyone leaves the site
Before you call wrap, mute the voiceover in your head and look at the selects. If a shot makes no sense without the words, go back and get what was missing while the set is still up.
Frequently asked questions
A-roll carries the story: the interview, the presenter or the main action. B-roll is what you cut over it, like product details, establishing wides, process shots and cutaways. The names come from 16 mm editing, where shots were split across two rolls so black leader could hide the splices.
Sony's Alpha Academy suggests 5 to 10 seconds per clip, and longer for complete actions such as a pour or someone crossing a room, where you record the whole movement. Adobe's B-roll guide quotes director Mike Leonard telling shooters to count to ten in their head on every shot. Leave a second or two of handle either side of the action so the editor gets clean in and out points. Leonard calls a beautiful shot that isn't long enough the most common beginner's mistake.
A skyline, weather or an abstract transition can come from a stock library, and plenty of b-roll does. Your product in use, your team, your inspection station and your customers need your own camera, because viewers notice when the hands and the office in a brand film plainly belong to someone else.