How to Use Canva Like a Pro - Hacks for Non-Designers


If you really want to use Canva like a pro, you have to get the fundamentals right. It’s these core skills that truly separate amateur work from professional-looking designs. This isn't just about dragging and dropping elements onto a page; it’s about having intentional control over your alignment, layers, and typography to create visuals that look polished and cohesive every single time.
Mastering the Canva Fundamentals Pros Use Daily
Before you can jump into the cool tricks and AI features, you need a solid grasp of the basics. These are the non-negotiable skills professional designers use every day to create clean, effective, and visually sharp work.
For non-designers, focusing on these fundamentals is the fastest way to level up your creations from looking homemade to professionally crafted. The goal here is to stop relying purely on templates and start making deliberate, confident design choices.
The platform's growth is pretty telling. Canva’s user base has exploded from just 1 million active users in 2014 to over 240 million monthly active users as of early 2025. That's a 240-fold increase in just over a decade, which really shows how critical visual content has become for everyone. You can dig into more of this data and see how Canva has grown so rapidly.
To help you get started, here's a quick look at some key features that many non-designers tend to overlook but are absolutely essential for making your designs look sharp and well-thought-out.
Core Canva Features Non-Designers Often Miss
Mastering these tools is less about memorizing functions and more about building good habits. Once you start using them consistently, you'll see a massive improvement in the quality and professionalism of your work.
Control and Precision with Alignment and Layers
Honestly, the quickest way to spot an amateur design is wonky alignment. It just looks messy. Canva gives you a huge helping hand with its subtle pink guidelines, called Smart Guides, that pop up as you move things around. Use them. Religiously. These guides are your best friend for perfectly centering text, lining up images, and creating that clean sense of order.
Another tool that often gets ignored is the Layers panel. You can get to it by right-clicking an element and selecting "Layer," or just by clicking "Position" in the top menu. This is a game-changer for complex layouts. Instead of getting frustrated trying to click on a tiny icon hidden behind a bigger shape, you can just pick it out from the list and bring it to the front.
Pro Tip: When you have a few text boxes and shapes arranged just right, select them all and group them (Ctrl/Cmd + G). This locks them together into a single object, making it a breeze to move or resize the whole composition without wrecking your perfect arrangement.
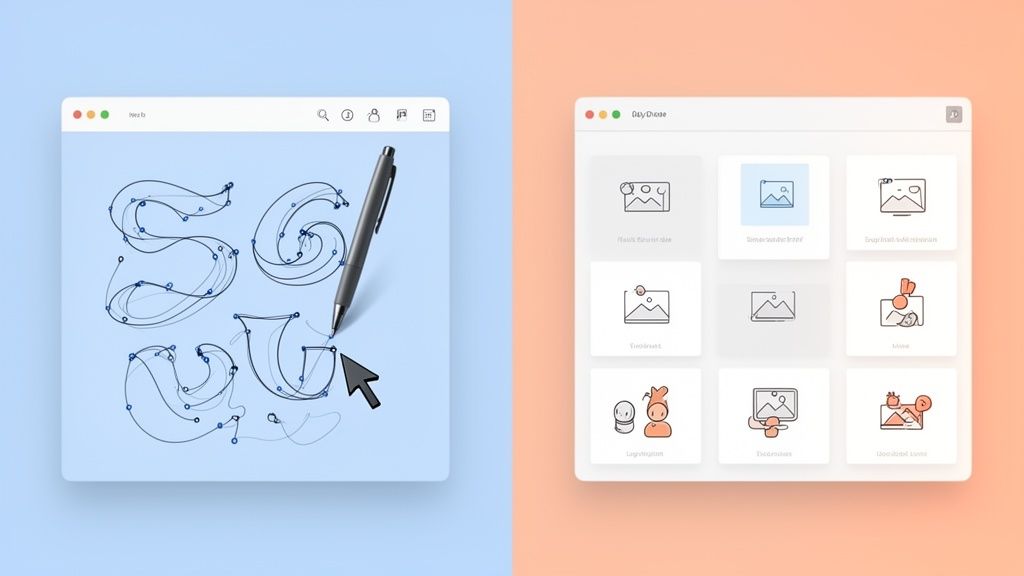
Building Structure with Grids and Frames
Please, never just drop photos onto a blank page. If you want a structured and professional look, always start with Grids or Frames.
- Grids are tiled layouts that automatically fill the page, which are perfect for photo collages or creating structured documents with multiple images.
- Frames come in all sorts of shapes—circles, letters, even mockups of phone screens—that you can simply drag your photos into.
Using these tools makes sure your images are cropped neatly and feel like an integrated part of a deliberate layout, not just random elements floating in space. Adopting this one habit can dramatically improve how professional your work looks. If you want to dive deeper into how to structure your visuals from start to finish, our guide on the design process in graphic design offers some great insights into planning and execution.
Automate Your Branding with Canva's Brand Kit
Consistency is the secret sauce for branding that looks professional, and Canva's Brand Kit is your best friend for nailing it every single time. It’s what separates a scrappy startup look from a polished, trustworthy brand. Think of it as the central command for your entire visual identity.
Instead of hunting for your brand's specific hex codes or scrolling endlessly to find the right font, the Brand Kit handles all of that for you. This one feature ensures every social post, presentation, or PDF you pump out has a cohesive look and feel—which is absolutely vital for building brand recognition.
Setting Up Your Brand Identity
The setup is surprisingly simple for how powerful it is. First thing you'll do is upload all your logo variations—think full color, black, and white versions—so they're always just a click away. Next up, you'll define your brand’s color palette. Don't just eyeball it; plug in the exact hex codes to guarantee perfect color matching on every single thing you create.
This is also where you'll lock in your primary and secondary fonts. You can either upload custom fonts or pick from Canva's massive library to set your brand’s typographic style for headings, subheadings, and all your body text.
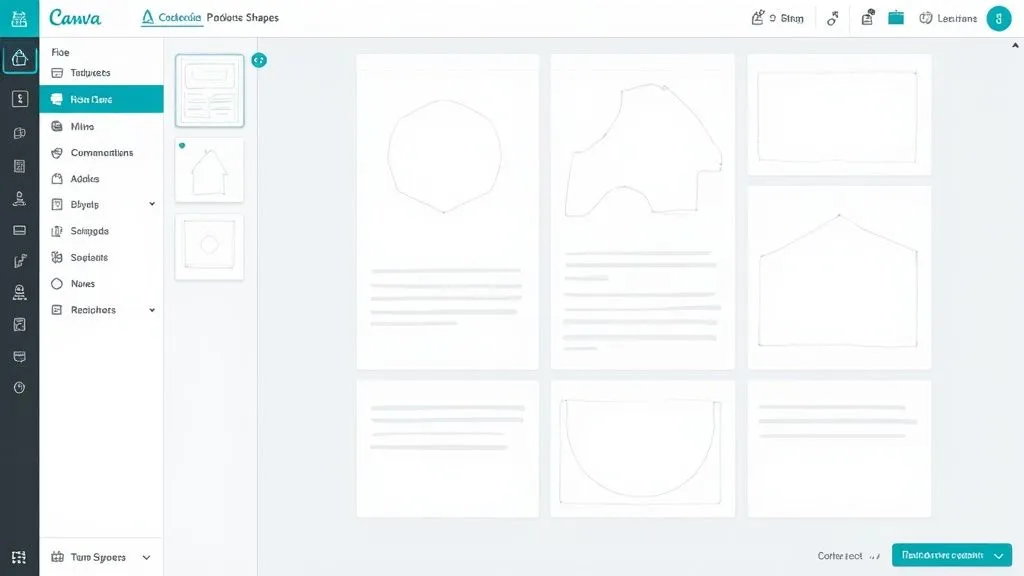
This screenshot gives you a peek at the clean interface where all your branding essentials live. Having this set up means anyone on your team can jump in and create on-brand materials without having to memorize a 50-page brand guide.
One-Click Brand Transformation
Once your Brand Kit is good to go, the real magic begins. You can grab any generic template off the shelf and, with a single click, apply your brand's colors, fonts, and logo. What was a stock design a second ago is now a custom, on-brand asset.
This isn't just a time-saver; it’s a brand-builder. Every consistent touchpoint strengthens your visual identity and builds trust with your audience.
Picture this: you're a freelance consultant who needs to send out a proposal, fast. You can take a standard template, instantly apply your branding, and make it look authoritative and uniquely yours in seconds. That kind of efficiency lets you focus on the actual content, not the tedious formatting. And for those of us juggling multiple clients or projects, Canva Pro lets you create and switch between several different brand kits.
Of course, organizing these assets is a huge part of the puzzle. For a deeper dive into taming your visual content, check out our guide on creative asset management. And if you want to streamline your workflow even further, exploring some of the top brand asset management solutions can help keep your branding tight across every single tool your team uses.
Adopt Time-Saving Workflows the Pros Swear By
The real difference between a Canva pro and everyone else isn't just knowing the tools—it's having a workflow that gets quality results, fast. Seasoned users don't click around aimlessly; they move with purpose. They have a handful of productivity hacks that shave precious minutes off every single design.
This is where you stop fighting the platform and start making it work for you. By adopting a few key habits, you can dramatically cut down the time it takes to produce professional-looking graphics without sacrificing an ounce of quality.
Master Essential Keyboard Shortcuts
Your mouse is slow. Your keyboard is fast. Honestly, the quickest way to speed up your workflow is to embrace shortcuts. Instead of digging through menus, commit these to memory:
- Group Elements (Ctrl/Cmd + G): Just spent five minutes perfectly aligning a text box with an icon? Select both, hit this shortcut, and now they're locked together. They move as one, preserving all your hard work.
- Duplicate (Ctrl/Cmd + D): Need another one of those perfectly styled text boxes? Don't create a new one from scratch. Just click the element you like and duplicate it. It's infinitely faster.
- Bring Forward/Backward (Ctrl/Cmd + [ or ]): This one is a game-changer for complex designs. You can quickly adjust layers without ever having to open the Position panel.
Use Style Copy for Instant Formatting
Ever notice that little paintbrush icon in the top toolbar? That's the Style Copy tool, and it’s probably one of the most powerful and underused hacks out there for non-designers.
Picture this: you've finally perfected a heading with the exact font, size, color, and spacing you want. All you have to do is click that heading, click the paintbrush icon, and then click any other piece of text on your page. Instantly, all the formatting is cloned. This works for shapes and other elements, too, giving you absolute consistency across your design in a matter of seconds.
The image below gives you a peek into how a designer might set up their canvas with placeholder frames and guides, laying the groundwork for a quick and repeatable process.
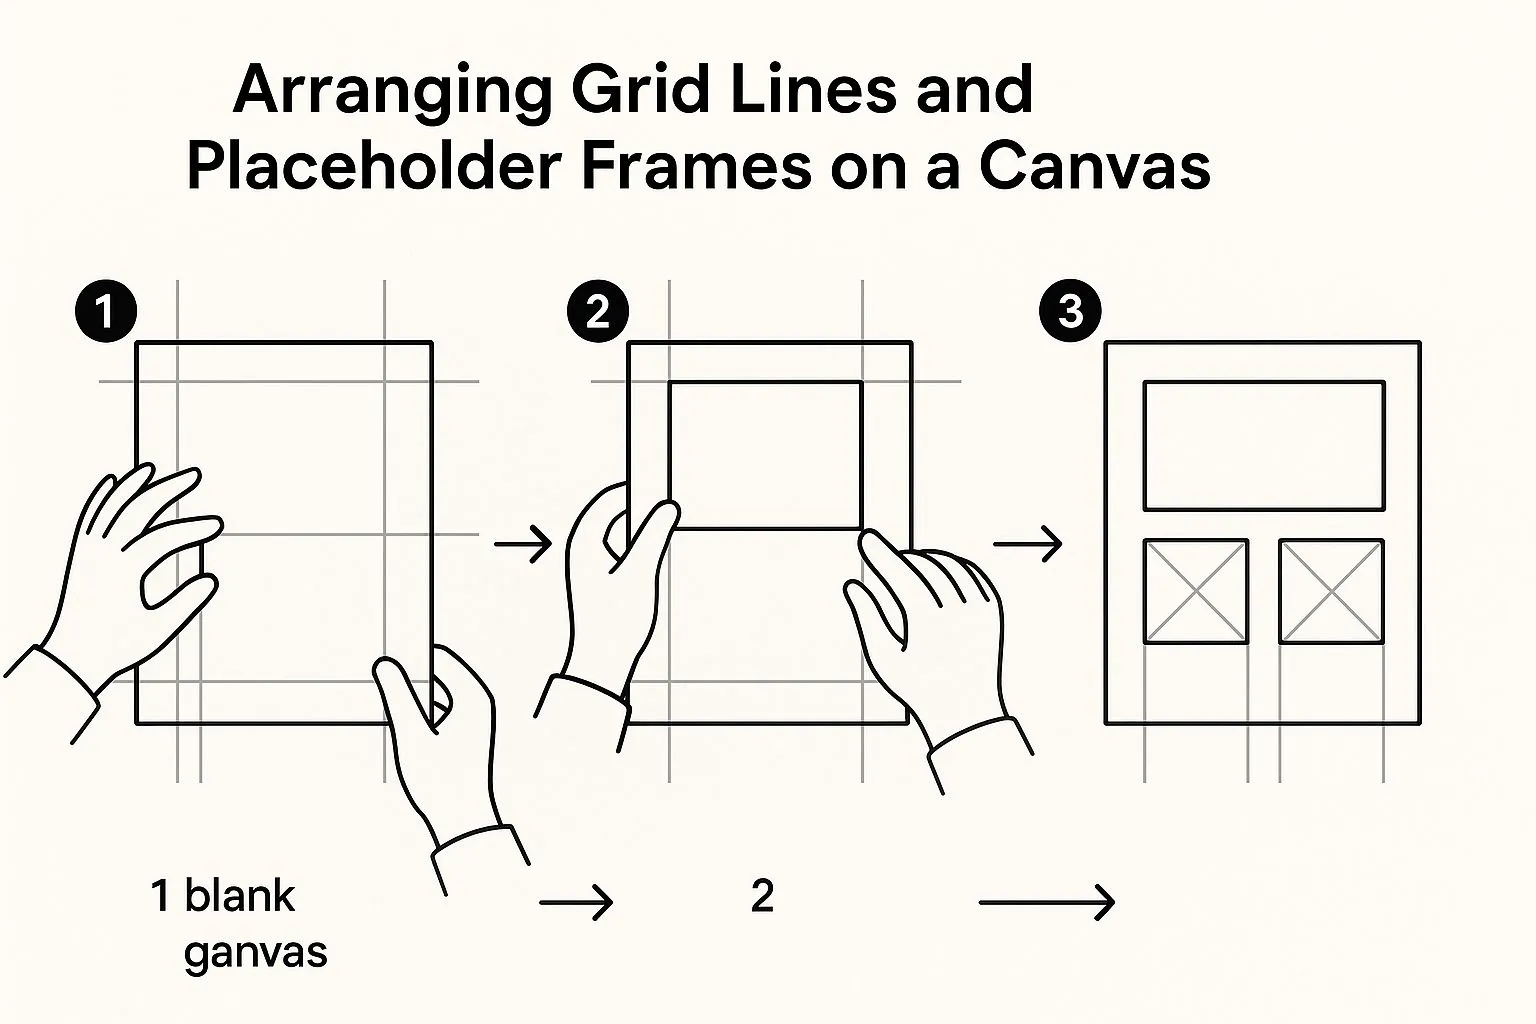
This kind of deliberate structure is what an efficient workflow is all about—planning and tools working together to speed up the entire creation process.
Create Your Own Reusable Templates
Seriously, why start from a blank canvas every single time? Whenever you create a design you’re particularly proud of—a great social media post, a sharp-looking presentation slide—save it as your own personal template. Just go to Share > More > Template link. Now you have an on-brand starting point for future projects.
This simple habit builds your own private library of high-quality, pre-approved designs, letting you pump out new content in record time. For a deeper look at building an efficient production system, check out our guide on the creative workflow process.
The Magic Resize Game-Changer
For non-designers, some of the Canva Pro features are just incredibly helpful. The Magic Resize tool alone can justify the subscription cost, letting you instantly adapt one design into multiple formats for Instagram, Facebook, and more. It saves hours of manual tweaking. With Canva Pro subscriptions growing by 15% globally in 2024, it's clear that users are finding huge value in these features.
Imagine designing one core graphic and, in under a minute, having perfectly formatted versions for an Instagram Story, a Facebook post, and a LinkedIn banner. That's the power of an optimized workflow.
Beyond Canva's built-in efficiencies, you can really level up by exploring strategies for optimizing your content creation workflow. These are the kinds of systems that let you create an entire week’s worth of social media content in under an hour.
Use AI Tools for Next-Level Photo Editing
This is where Canva's "magic" really comes alive, handing you the keys to professional-grade work without the steep learning curve of traditional design software. The suite of AI-powered tools inside Magic Studio is your secret weapon for edits that used to require a hefty Adobe subscription and hours of tutorials.
Instead of getting bogged down in complex photo manipulation, these features let you get stunning results in just a few clicks. For anyone who doesn't call themselves a designer, this is a total game-changer. Tedious tasks become quick, satisfying fixes.
Instantly Clean Up Your Photos
One of the most useful tools right out of the gate is the Background Remover. With a single click, you can isolate the subject of any photo, leaving you with a clean, transparent background. It’s perfect for creating polished product shots for your e-commerce store or making team headshots pop on your website.
Then there's the Magic Eraser. Ever taken a perfect photo only to have it ruined by a random person or a distracting object in the background? Just brush over the unwanted element, and Canva's AI intelligently fills in the space, making it look like it was never there.
This isn't just about fixing mistakes; it’s about taking complete control over your image's composition. You can remove clutter to guide the viewer’s eye exactly where you want it.
Transform Images with Magic Edit
Ready to take it a step further? Magic Edit lets you swap out or add objects to a photo just by describing what you want. It's as fun as it sounds.
Imagine you've got a great shot of a desk, but it feels a little empty. You wish it had a steaming cup of coffee on it. Just select the area where the cup should go, type "a steaming cup of coffee," and the AI generates it right into your image, matching the lighting and perspective. This is an amazing hack for creating custom stock photos that perfectly match your content's story.
Go Beyond Basic Adjustments
While the AI tools are impressive, don't overlook the manual controls that give you an artistic edge. Right inside Canva, you can fine-tune your photos with precision.
- Brightness & Contrast: Tweak these to make your images more vibrant and impactful.
- Saturation: Boost the colors to make them pop or pull them back for a more muted, serious tone.
- Filters: Use filters strategically to set a specific mood. A warm filter can make a scene feel cozy, while a cool one can create a more modern or somber vibe.
For a personal touch that templates can’t offer, check out the Draw feature. You can add your own annotations, highlight key areas with hand-drawn circles, or add unique squiggles for a bit of personality. This simple addition can make your designs feel much more authentic and custom-made.
The world of creative AI is always evolving, opening up incredible possibilities for creators. If you're curious about what's next, you can find more insights on the future of AI in creative fields and see how it’s shaping the design world. Learning to use Canva like a pro means embracing these smart tools to work faster and get better results.
Find and Customize Unique Design Elements
A great design is only as good as the parts you build it with. The problem is, with millions of options, diving into Canva’s element library can feel like jumping into the deep end of the pool.
The real key to avoiding those generic, overused templates is learning how to dig for the hidden gems. This means getting past simple searches like "arrow" or "circle" and starting to use more specific, powerful search terms.
Instead of being generic, get descriptive. Think about the style you're going for. Searching for something like “boho abstract shape” or “quirky hand-drawn line” will turn up way more interesting results than just “shape” or “line.” This simple shift is your first step toward finding unique elements that make your designs feel fresh and custom.
Unlock Hidden Assets with Search Codes
Alright, if you really want to use Canva like a pro, you need to master its secret search codes. These are simple little commands you type right into the search bar to filter the entire library with some serious precision. They’re a massive shortcut to finding exactly what you need, fast.
Here are a few of the most powerful codes to get you started:
- Find by Creator:
brand:BAAMxyzor@creatorname. Ever find an illustration style you absolutely love? Use this code to see every single element that person has ever created. This is the ultimate hack for keeping a consistent visual style across all your designs. - Filter by Color:
has-color:blueorhas-color:#0052CC. This is a lifesaver when you need an element that already matches your brand palette, saving you tons of time on customization. - Isolate Specific Asset Types: Use
type:photo,type:graphic,type:video, ortype:audioto narrow your search to just one category at a time.
Think of these codes as a secret menu for Canva. They give you access to a level of filtering that most users don't even know exists, helping you uncover unique assets that aren't plastered all over everyone else's designs.
Customize Illustrations to Match Your Brand
Finding a great graphic is only half the battle. The next step is making it truly yours. A lot of Canva's illustrations are fully editable, but it's a feature non-designers often miss.
When you click on a vector graphic, glance at the top-left toolbar. If you see a row of color squares pop up, you've hit the jackpot.
Those squares mean you can change every single color inside the illustration. This is your chance to swap out the default colors for your own brand palette. It’s a dead-simple trick that instantly turns a stock element into a custom, on-brand asset. If you're looking for more ways to level up your work, checking out the best plugins and extensions for designers can open up a whole new world of creative tools.
Bring Your Designs to Life with Media
Don't forget that Canva is way more than just a tool for static images. You can easily drop in video and audio to turn a simple graphic into an engaging social media post that actually stops the scroll.
Use the search filters to find royalty-free audio tracks that match the mood you're aiming for, whether it's upbeat and energetic or calm and focused.
You can also trim video clips right inside the editor to use just the perfect little segment. Adding something as simple as a subtle animated background video or a short audio clip can dramatically boost engagement and make your content feel way more dynamic and professional.
Frequently Asked Questions
Even after you've learned a few pro-level hacks, some common questions always seem to pop up. That's totally normal. Here are the most frequent hurdles I see non-designers face, with some straight-to-the-point answers to get you unstuck and back to creating.
Can I Really Create Professional Designs with a Free Canva Account?
Absolutely. You definitely can. While Canva Pro has some amazing time-savers like the Brand Kit and Magic Resize, the free version is more than powerful enough if you know how to use it.
The trick is to lean into the fundamentals we've already covered. Be obsessive about using the alignment tools, get comfortable managing layers, and manually stick to a clean, consistent color palette and font pairing. You can produce top-tier graphics without spending a penny. The main limitation is the smaller library of free photos and elements, but you can easily work around that by uploading your own assets.
My Designs Still Look Homemade. What Am I Doing Wrong?
I see this all the time, and the culprit is almost always the same: clutter. Non-designers often feel the need to fill every single pixel of empty space, which leads to using too many fonts, clashing colors, and a bunch of random elements that don't add anything.
Professionals understand the power of whitespace. It gives your design room to breathe and directs the viewer's eye to what's most important. Less is almost always more.
To fix this, give yourself a simple rule. Use no more than two or three fonts, and stick to a tight color palette of three to four colors, max. Before you add anything, ask yourself: "Does this serve a purpose?" If the answer is no, it's just noise. Making this one mental shift will elevate your designs overnight.
How Can I Make a Generic Canva Template Look Unique?
This is a critical skill. The whole point of a template is to use its structure as a launchpad, not the final product. With just a few quick tweaks, you can make any template completely unrecognizable.
Here's my go-to four-step process for a total template transformation:
- Swap the photos. The very first thing you should do is replace all stock images with your own brand photos or find less-common options in Canva's library.
- Change the color scheme. Apply your brand's color palette to every single element on the page. Don't leave anything behind.
- Replace the fonts. Switch out the template's default fonts for your own established brand fonts for headings and body text.
- Rearrange the layout. Even tiny adjustments make a huge difference. Move an image from the left to the right, or change a square photo frame to a circular one.